The Nature of Clay
Bonus Lesson

Bonus Lesson
The Bearer of the Rose
Starting with an already made face.
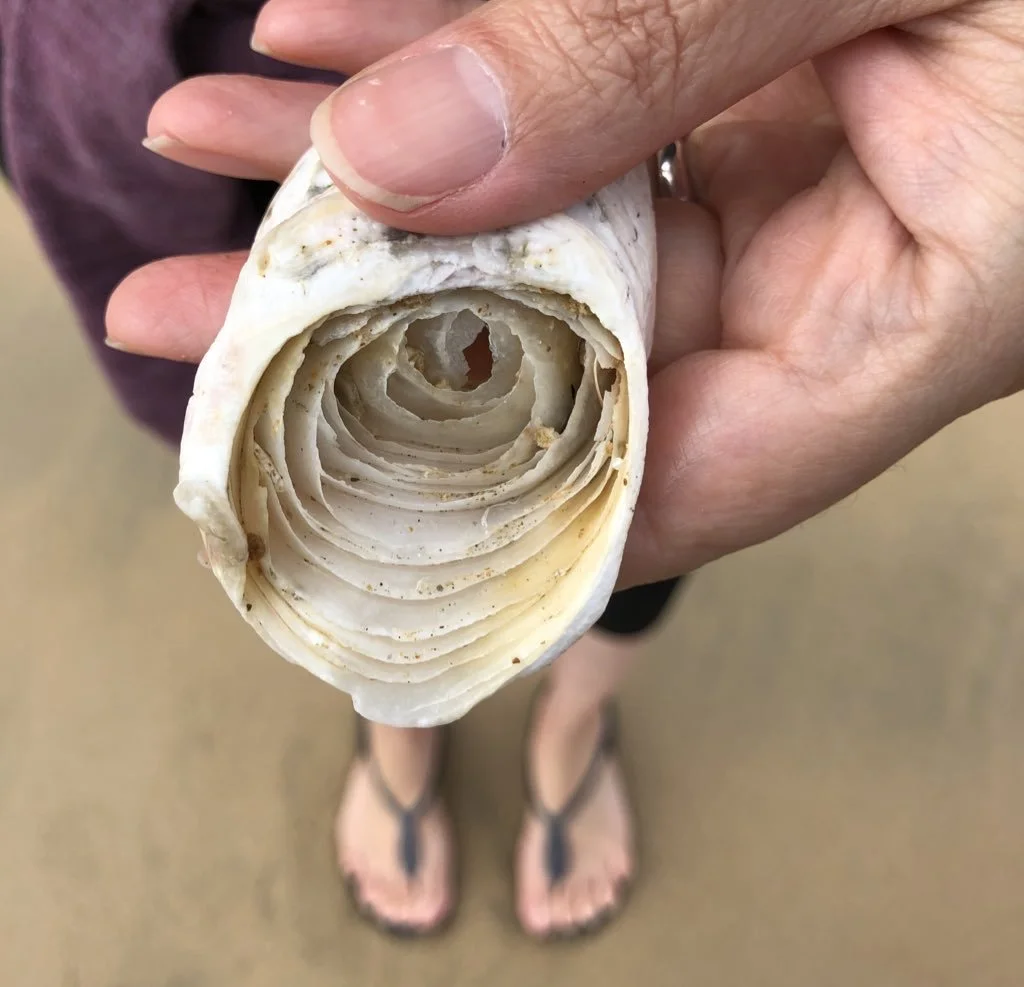
Once again starting with an already made and dried face, a stunningly eroded oyster shell in the shape of a rose and your beautiful paperclay. Such a humble place to start but with endless possibilities.
This is also a reminder not to bypass the damaged and broken shells you see on your beach. Look how beautifully broken and eroded shells can be. Nature and the elements shaped this rose formation over many years and I can’t take my eyes off it.
supplies:-
PaperClay and Clay tools
Already made clay face
Shell, eroded / interestingly shaped
Rose shaped silicon mould - optional
Acrylic Paints and white neocolor crayon
Old dress patterns and gel medium


Bonus Lesson - Making of the Bearer of the Rose
Painting
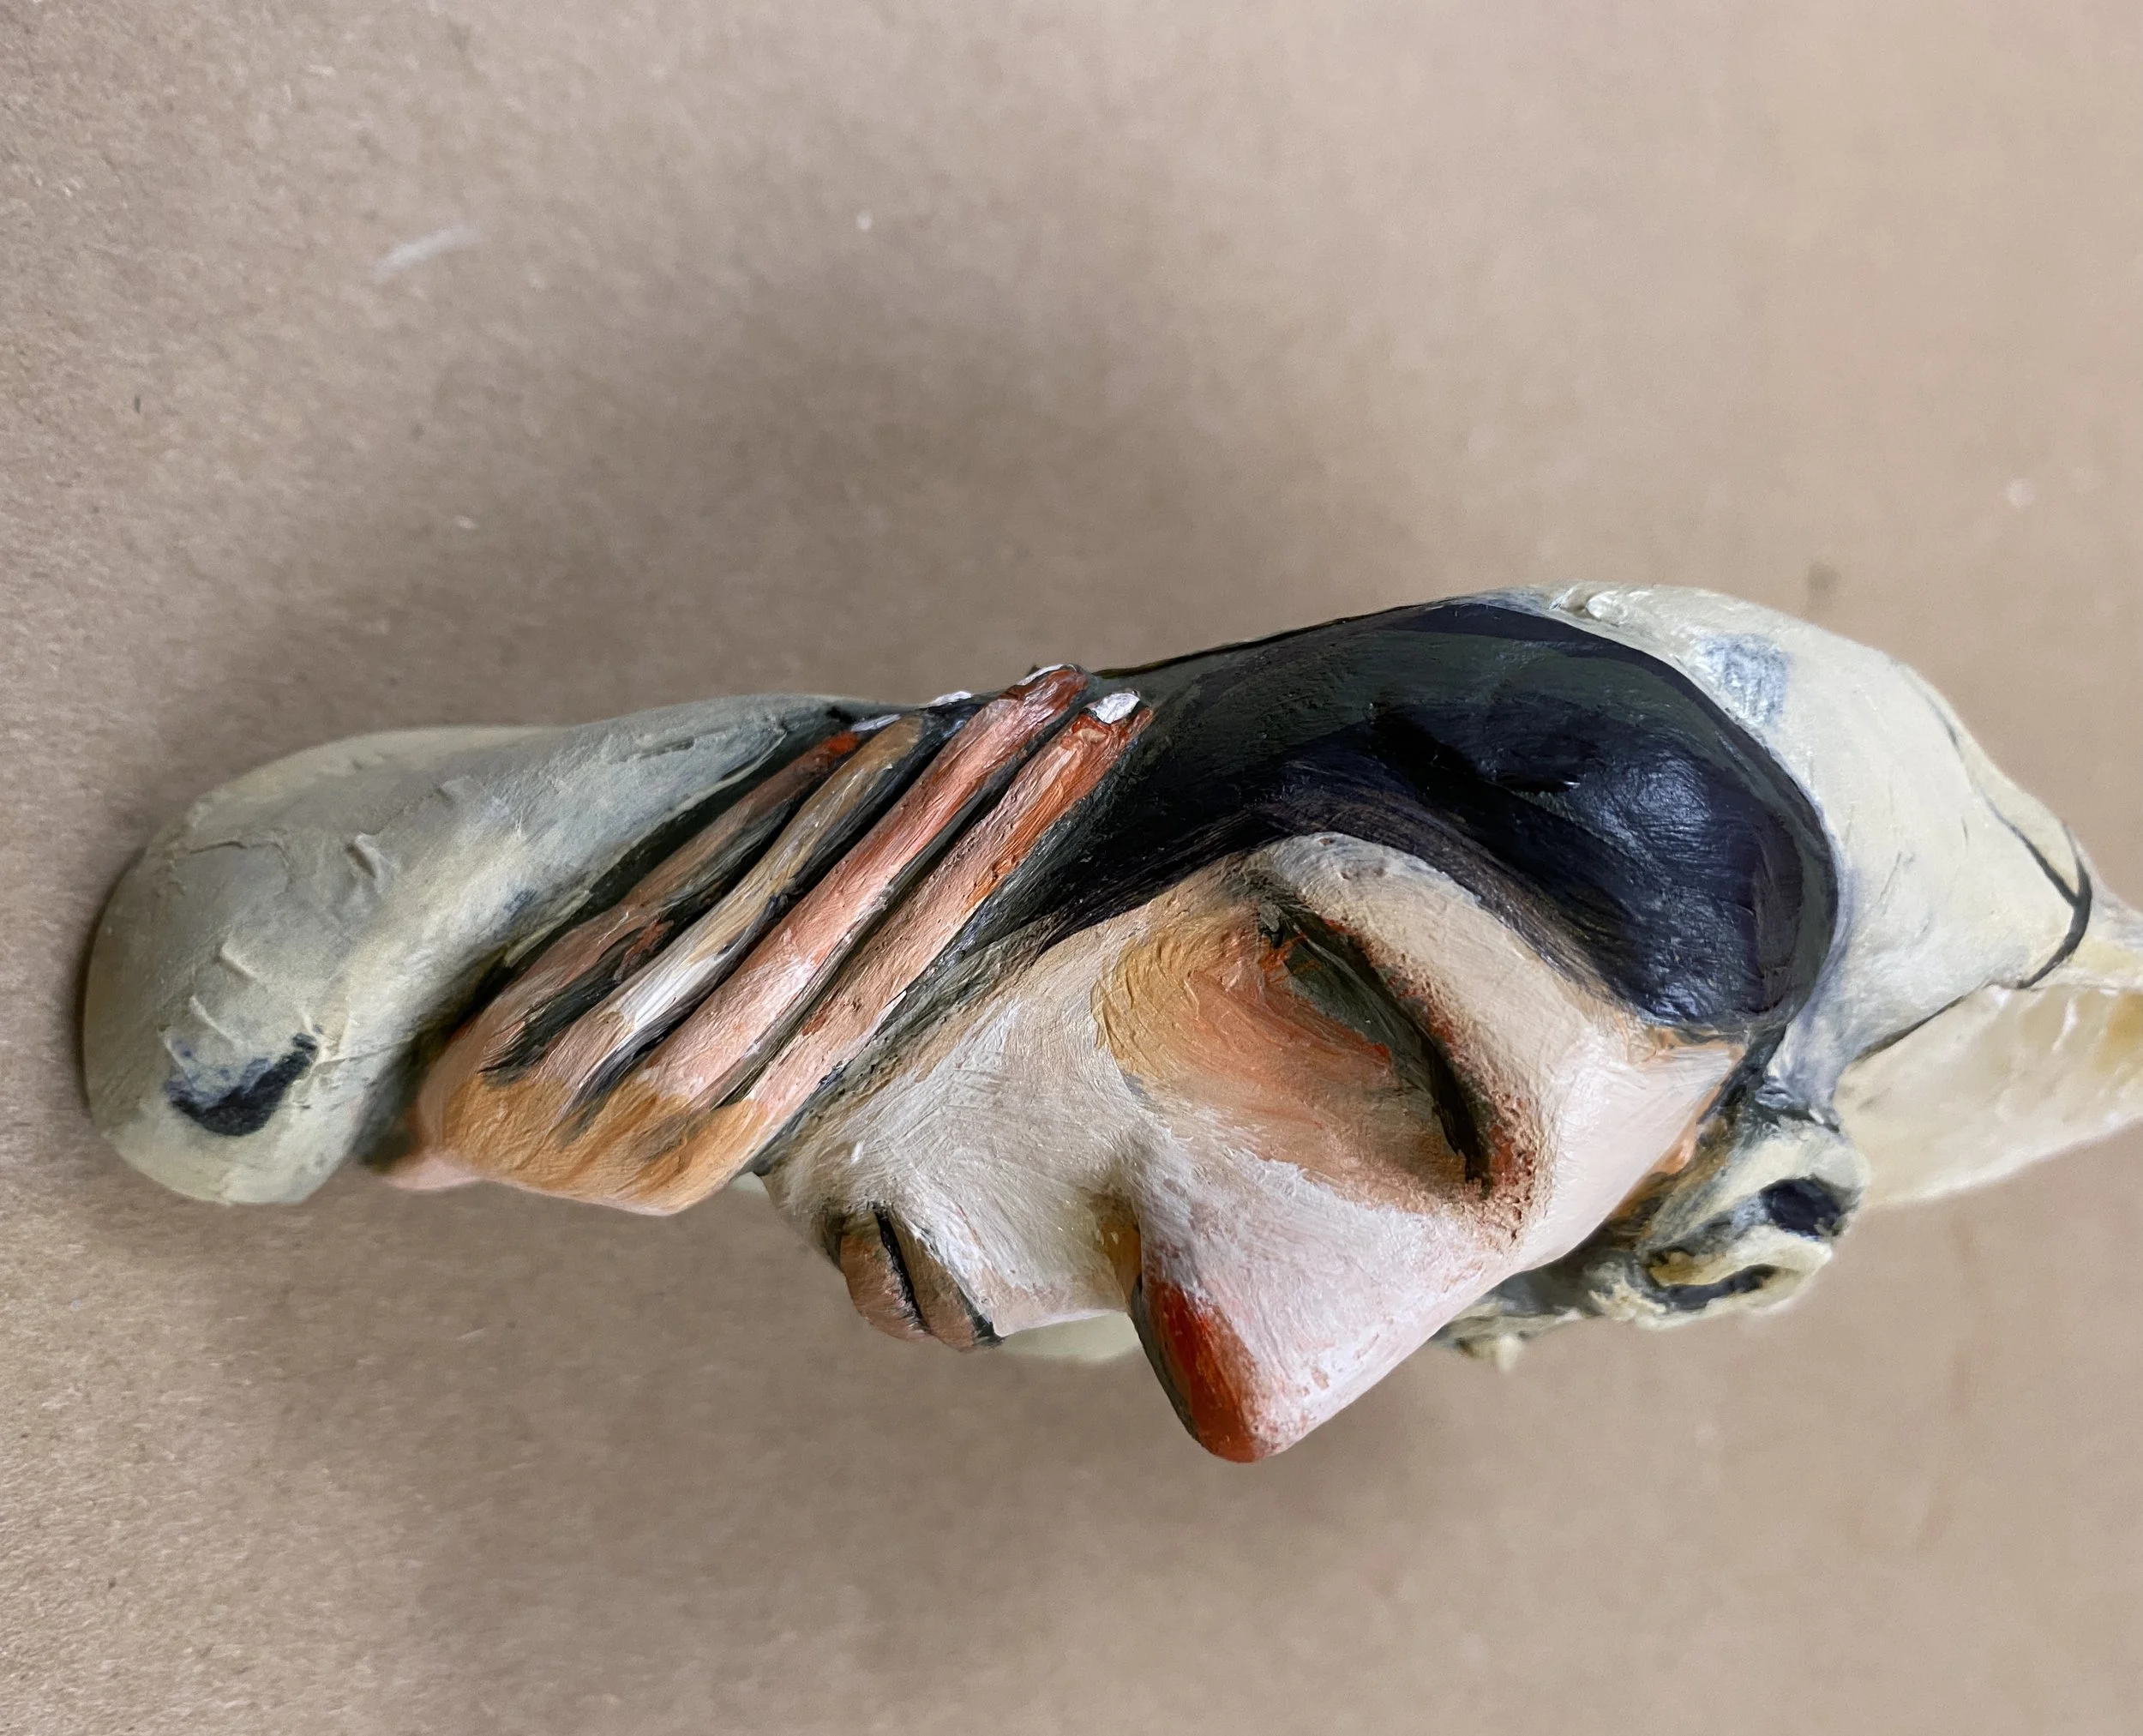
I knew all along I wanted to keep the painting of this piece pretty neutral and natural, similar to my rose shaped shell.
Considering that was the inspiration of this piece, I thought I would let that be the leading point, not only in the formation of this piece, but also the colors. I love how she evolved even with a limited palette.


Bonus Lesson b - Painting Bearer of the Rose
Paint and Method
Before I start painting any of my dry clay works, I give it a light sand with a fine grained sandpaper and work out any blemishes that might have presented themselves. This step also allows me to see if any areas need reworking.
Remember to wash your piece with a soft watercolor brush and some water after sanding.
Like my other lessons, I start by laying down my dark undertones, I used Burnt Green Earth (Abstract Sennelier 214).
Once my cast shadows are down, I immediately start adding my Portrait Pink (Systmes 3) and Cadmium Scarlet Hue (System 3) for my foundation of my face coloring. There after I start layering up with my highlight colors, Titanium Buff (Systems 3) and a heavy body Titanium White (Golden).
Every now and again I add my Yellow Ochre (Amsterdam) to match the color of the shell mainly on her body and around her shell.
I did also incorporate my Payne’s Grey (Systems 3) every so slightly to add contrast and also mixing it with my Burnt Green Earth (Abstract Sennelier 214) made a less harsher contrasting color. When I paint wet on wet, sometimes I stumble upon interesting color combinations that I continue to work with throughout the piece. I love working this way, kind of like color mixing on the go.
varnish time
It is time to varnish and seal off your clay works. I use a matt varnish spray. I find it mutes down any shine and the high intensity of some brands. I love this finish.
Allow your clay to be thoroughly dry first before spraying.
Spray in a well ventilated room and with a mask on.
Leave your varnished piece to dry thoroughly before moving.
Please use with caution and exercise extreme care.